
The revolution we’ve all been waiting for is the DIY floor revolution. Yes, it is. After creating more guides about home deco, we decided to make one on how to improve home. Starting with the floor, it’s all DIY! The ideal way to customize your home while having fun. And above all in an alternative way! But how to do it? Here we have collected all the advice to be able to do it in the best way, without spending too much especially!
And then, if you’re ready, we can start!
Every DIY job saves money. But time is perhaps a variable not to be taken into account. And we’ll tell you why right now. As stated in the previous guide, when trying to revolutionize home, there is a risk of being superficial. If you want to complete this project in the best possible way, you should take the right time and not pretend to finish it all in one day. The first piece of advice we feel we can give you is to give you the necessary time to prepare everything. Additional tip : if the whole house is subject to this remake, divide the work according to the rooms. From the least used to the busiest ones.
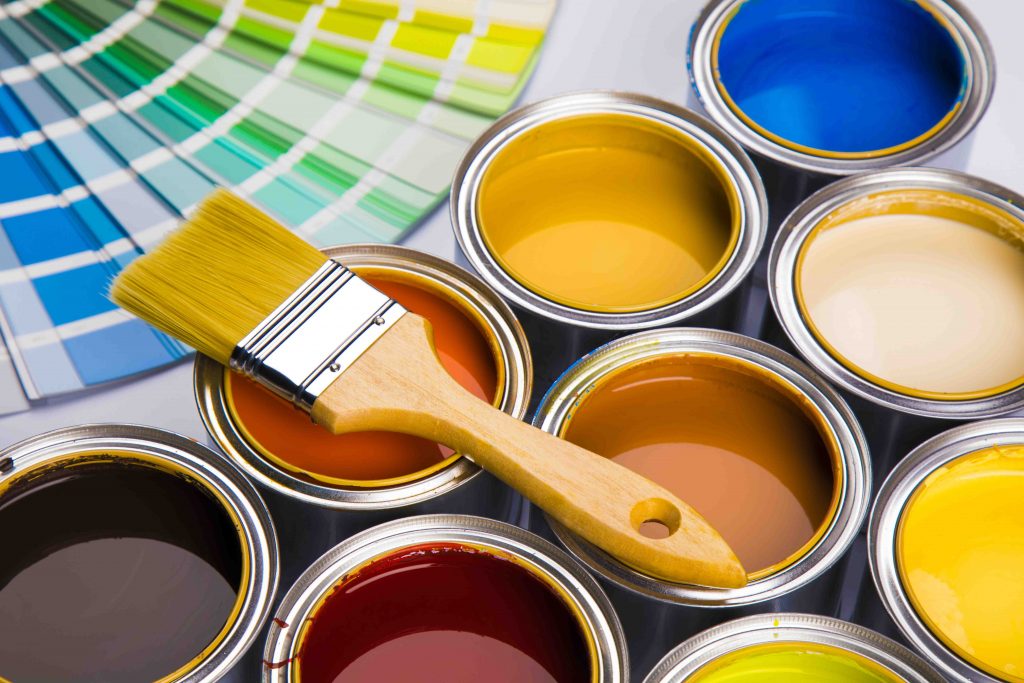
It is better to make a remake of the floor because … the reasons are among the most varied. First of all, it is a wave of colour that will involve the whole house. First of all, there are very few products needed to revolutionize the floor. A few buckets of paint, brushes and stencils. Imagine if you had to call in professionals for this job. You would have found your house in a mess for days, paying a fortune. Actually, you only need to understand how these materials can react with your floor. And then… get to work!
But how can you get lasting, quality work? With the primer! You should choose a primer precisely according to the material of your floor, so that the paint can last over time. And after you put it at the top of the list , for your floor will need :
After cleaning the area and passing the primer, you have two options:
So, have you already chosen your stencil ?


2005-2019 REALIGRO REAL ESTATE LTD. All Rights Reserved - VAT Nr: 893969932


